-40%
BASKETRY MAKING PATTERN GUIDE Weave/Weaving MAKE BASKET~Template Design Checker
$ 1.57
- Description
- Size Guide
Description
Basketry Making Pattern/Stitch GuideDescription
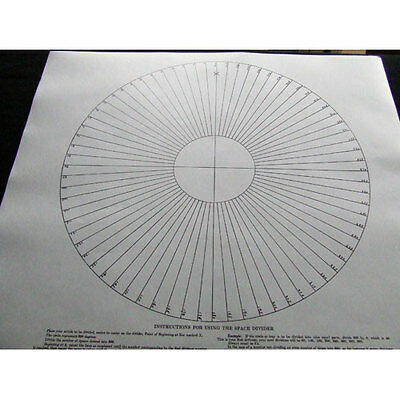
This is a high quality, exact reproduction of a Basket Making Design Guide originally published in the early 1900s for coil style baskets.
Produced on sturdy, translucent paper the large 15 inch X 16 inch guide is designed to help in determining pattern divisions and stitch patterns in basketry making.
Just center your uncompleted work on the guide and follow the directions to determine the size and alignment of repeating units.(The translucent guide may also allow you to see through if placed over a partial or completed woven basket, as long as your pattern colors are dark enough.)
This helps in adjusting the alignment of stitches or size and number of repeating units when weaving baskets by hand. It is very helpful in monitoring your work or staying within a predetermined design.
More instructions for the Basket Making Pattern Guide:
The original Guide was called a Space Divider. Since it was designed to work with baskets made by the coil method which progresses in a circle, that is what we will discuss here. It is quite possible with a little ingenuity to apply the Pattern Guide to baskets made by other methods or shapes.
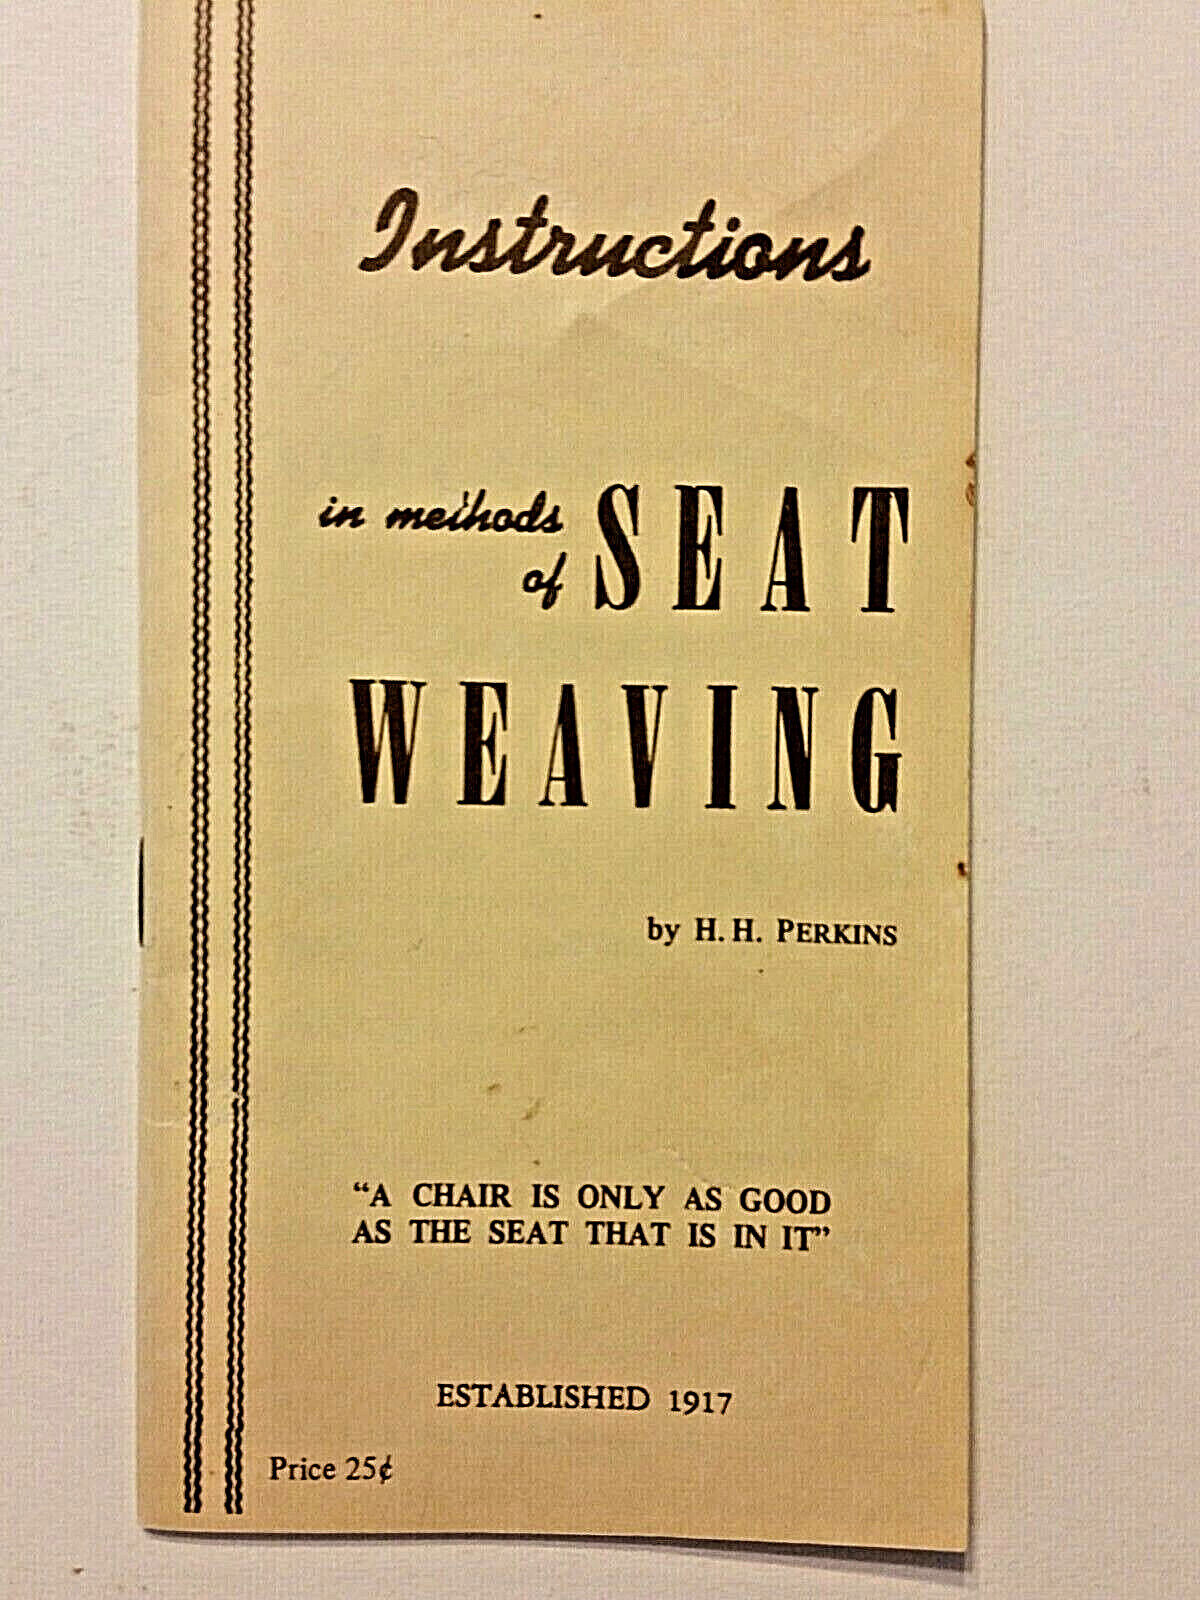
Most Basket Making books suggest that you make a drawing, or have in mind the finished size and stitch patterns of the item you wish to make. You can do this by designing a pattern you have in mind, or by copying a pattern from an existing work.
To figure the spacing from a pattern in your mind, you will still need to know the number of repeating pattern units. For example if you wish to have 9 repeating pattern units, divide 360(which are the degrees in a circle, and our pattern guide) by 9. You will find the the pattern will repeat every 40 degrees, or every 8 spaces on our guide(since each space is 5 degrees on our guide).
Thus by starting out with a small starter coil for your basket, you will have to coil it until you have reached a coil with at least 9 stitches before beginning your pattern. It will also help to sew in colored thread or raffia strips to mark your Point Of Beginning for your coil. This may be removed later.
As you continue your coiling, it will help every few rounds to place your coil, center to center, on the divider with your marked Point of Beginning at the line marked X on the Guide. This will allow you to check your pattern spacing and to be sure you are keeping the stitches tight and even. You will notice that as your coil grows larger, the spaces on the divider become wider, but the correct number of degrees or spaces remains the same. It is much easier to correct spacing and tightness while the coil is small, than to wait until it is larger. Thus frequent monitoring will keep your work in beautiful order.
To copy a pattern from an existing work, simply place the work atop the Pattern Guide, count the number of pattern divisions and divide that into 360 to get the degrees of separation for the pattern units, or simply count the space divisions between the pattern units. The number of pattern repetitions will be the number of starting stitches, or rays in the pattern.
The higher the number of pattern repetitions you require, the larger your starting coil will need to be before starting your design. There are many beautiful patterns and stitches you may use in making your designs.
In the case of a pattern number not dividing an even number of times into 360, as for instance if seven divisions are chosen, the first division would be 51 and 3/7ths. Counting five degrees between each space, it will be a simple matter to count 50 degrees and place your mark a little over 1 degree to the left.
Patterns that are not straight, such as spirals may also be checked with the Pattern Guide. These may still be kept in alignment by noting how many rows it takes to move the pattern a number of spaces, or degrees.
Even very ornate patterns may be checked with the Pattern Guide. Remember it helps to add the marker threads to keep track of pattern beginnings or repetitions.
Any purchase which is not paid for in 3 days will be relisted. I cannot give a combined shipping discount on multiple items if you pay for them separately. Simply ask for an invoice from the "seller" before paying. Thanks.


